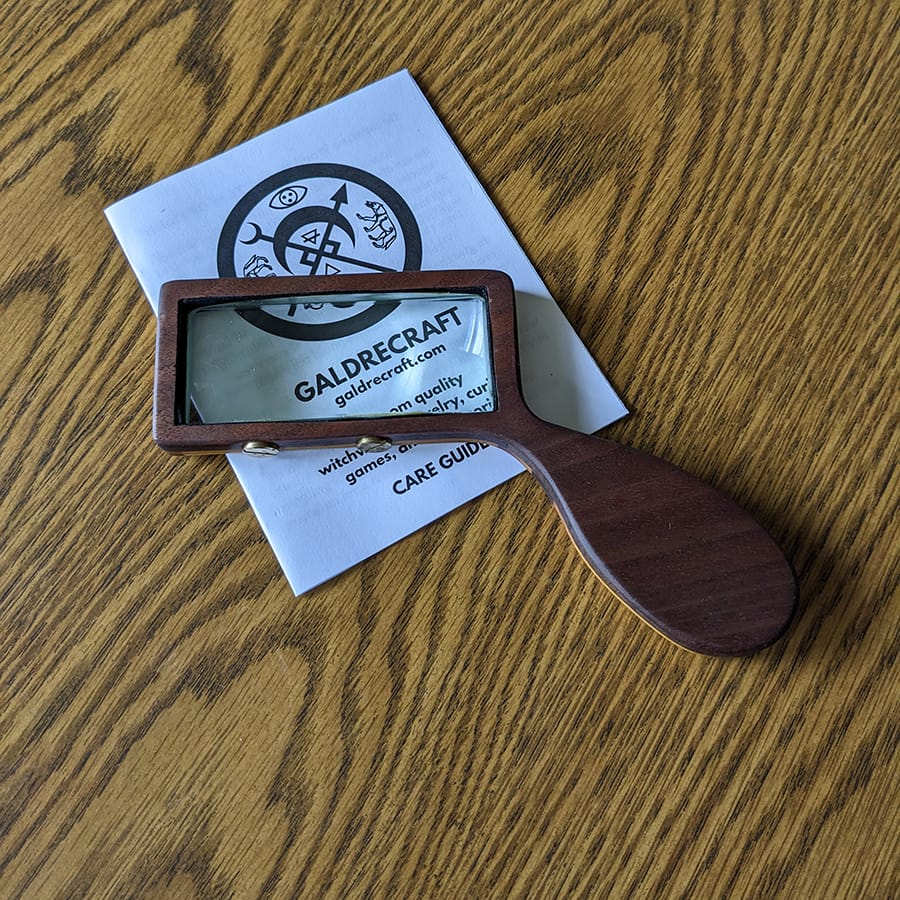
Zoom. Enhance.
I started a little thread on bsky last week about an odd (for me) commission I took wherein a neighbor needed a new handle and frame for their magnifying glass. Hard up for money as one is, I took them up on it and have been working away at figuring out how to make a magnifying glass frame and handle out of wood without it being too bulky or too fragile.
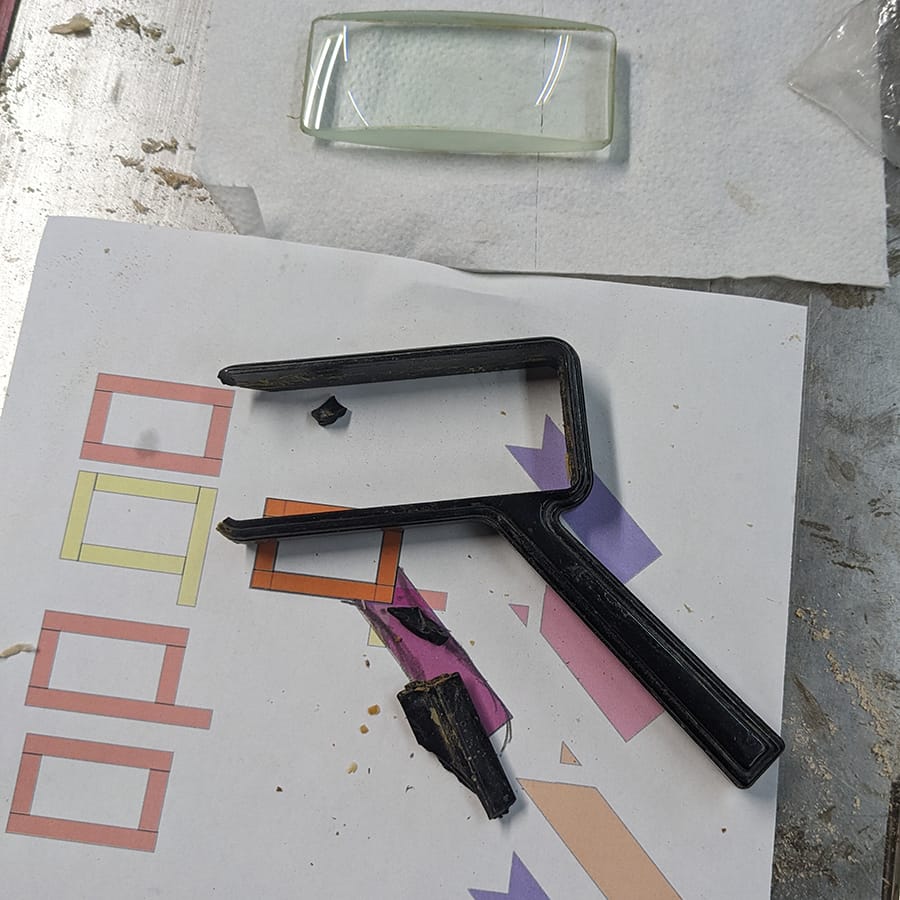
The magnifying glass itself was a small rectangle which wasn't as much of a problem to deal with than the curvature of the lens. Mitered Corners at this size would have been kinda week without splines and I don't have a 1/16 kerf saw to cut tiny splines into tiny miters so I went with overlapping butt joints. I also needed to figure out how to fit the handle on at an angle and by extending the frame out I could extend the overlapping frame on that corner out and construct the handle in a similar way with a 45 degree angle on it and some small support pieces.
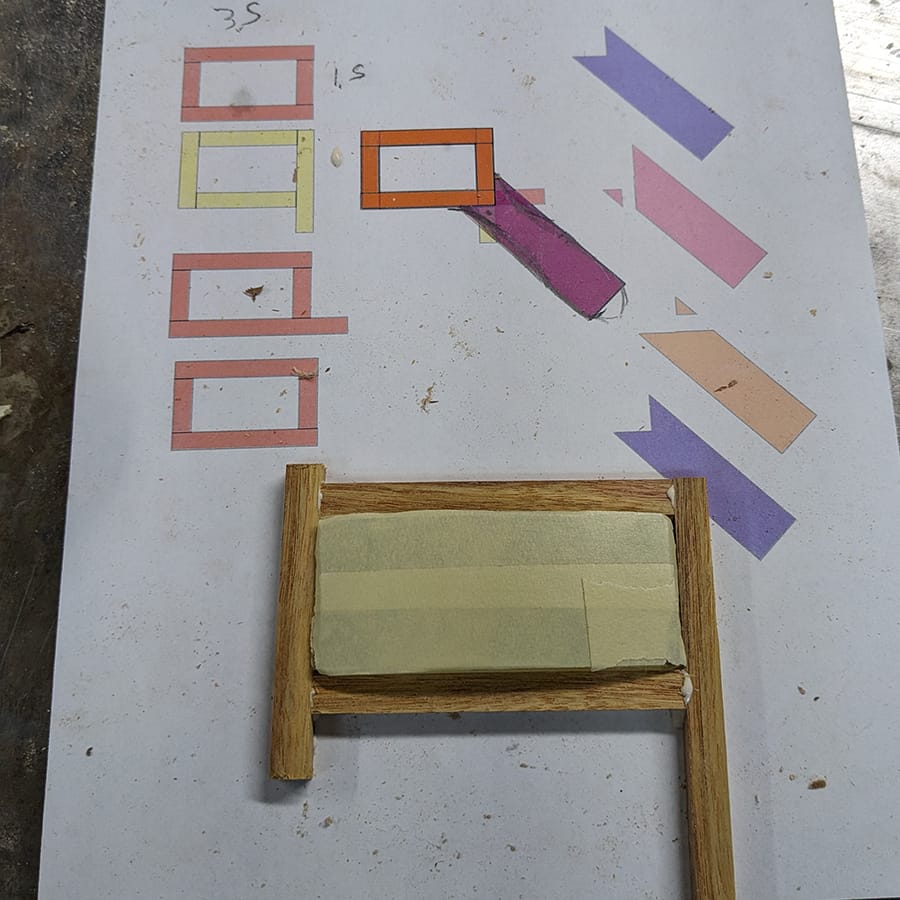
I quickly realized that my plan for 4 layers was going to be too thick so I used some canarywood I had on hand as the foundation layer b/c its strong and glues well.
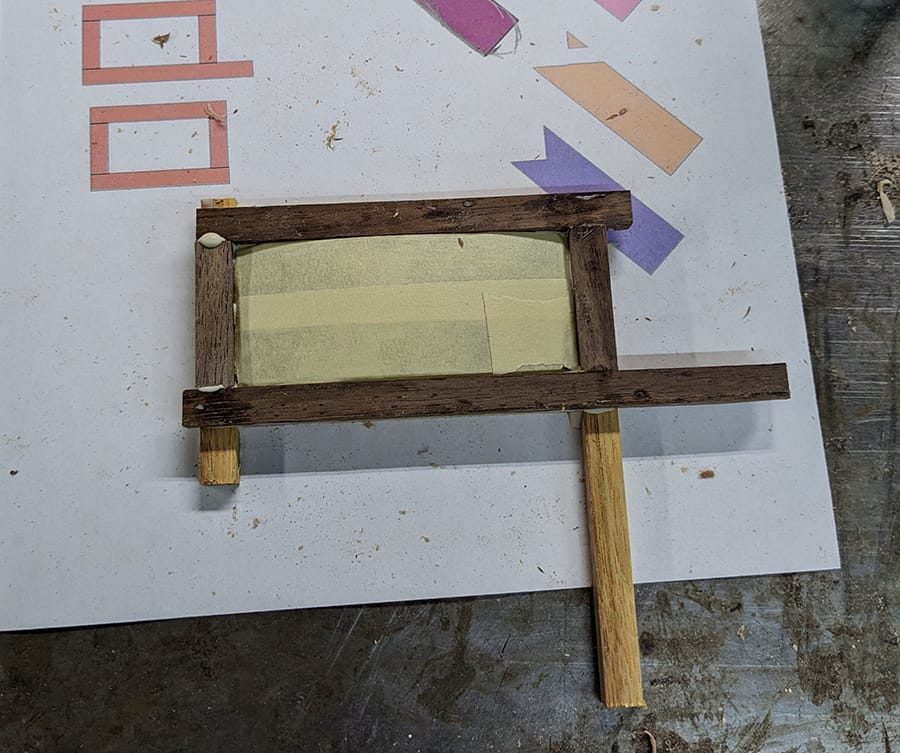
The second layer I made with walnut b/c I felt that would be the appropriate color wood to go with the canarywood and the magnifying glass vibe.
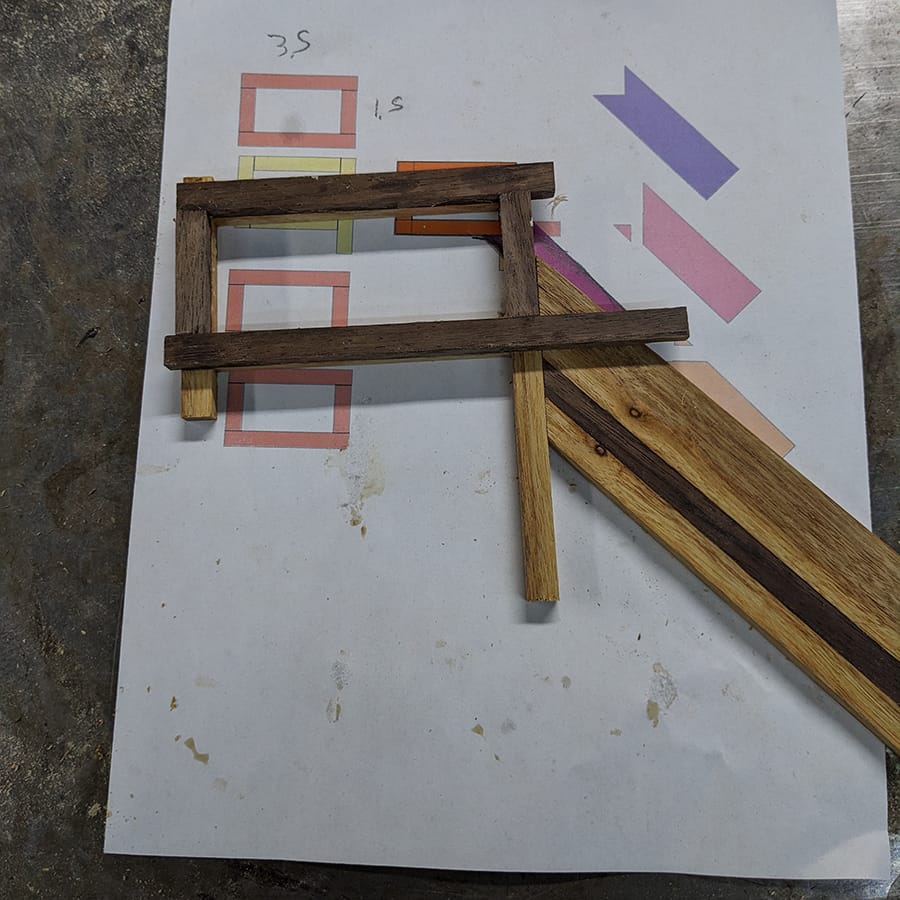
They wanted the handle to be bigger and more "pear" shaped so I figured I would just overbuild the handle and then shape it down to its final proportions. The canarywood I had on hand was just scraps which were too thin for the full handle width so I edge glued a strip of walnut and canarywood to the thickest piece I had and then cleaned it up and cut the 45 degree miter onto it. You can see in the picture above how the miter supports the frame and passes under the walnut frame piece above.
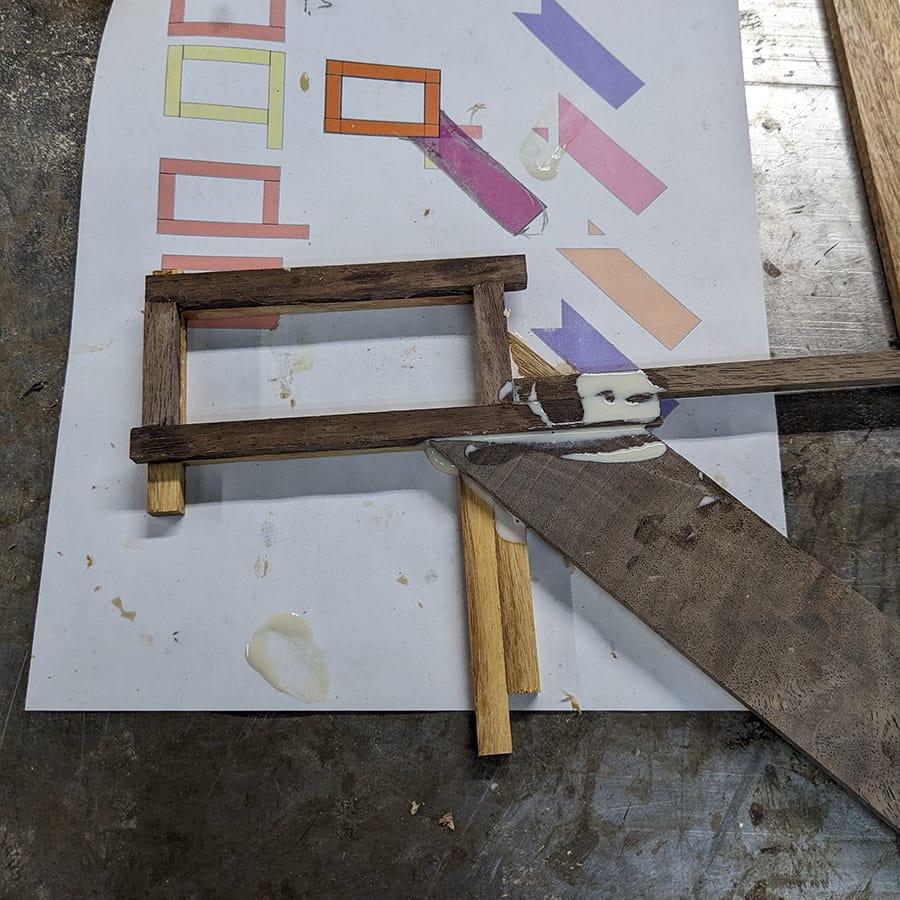
The next step was to glue the bottom miter from above with a walnut strip with the opposite miter on top of it and then added some little corner strips in to provide additional support. Even though they get mostly filed off by the end they still provided structural support during the glue up phase keeping everything aligned and supported.
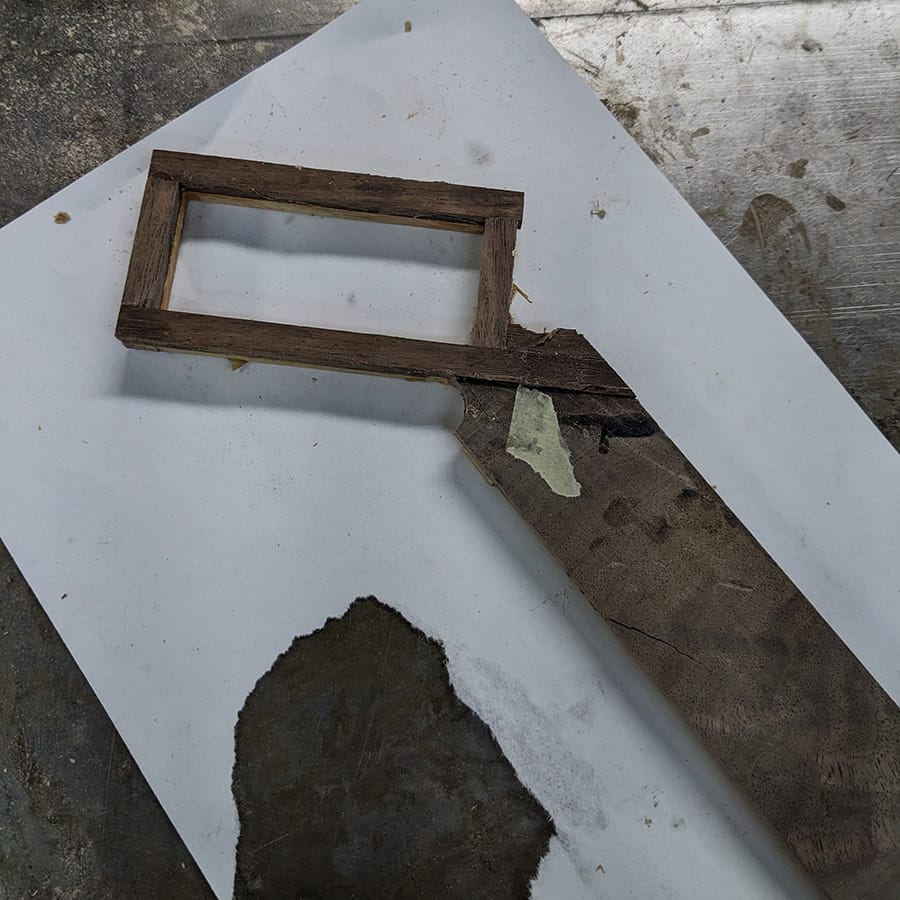
After the glue had all set I cut away the support strips and used a curved file to cut an initial profile for the handle connection.
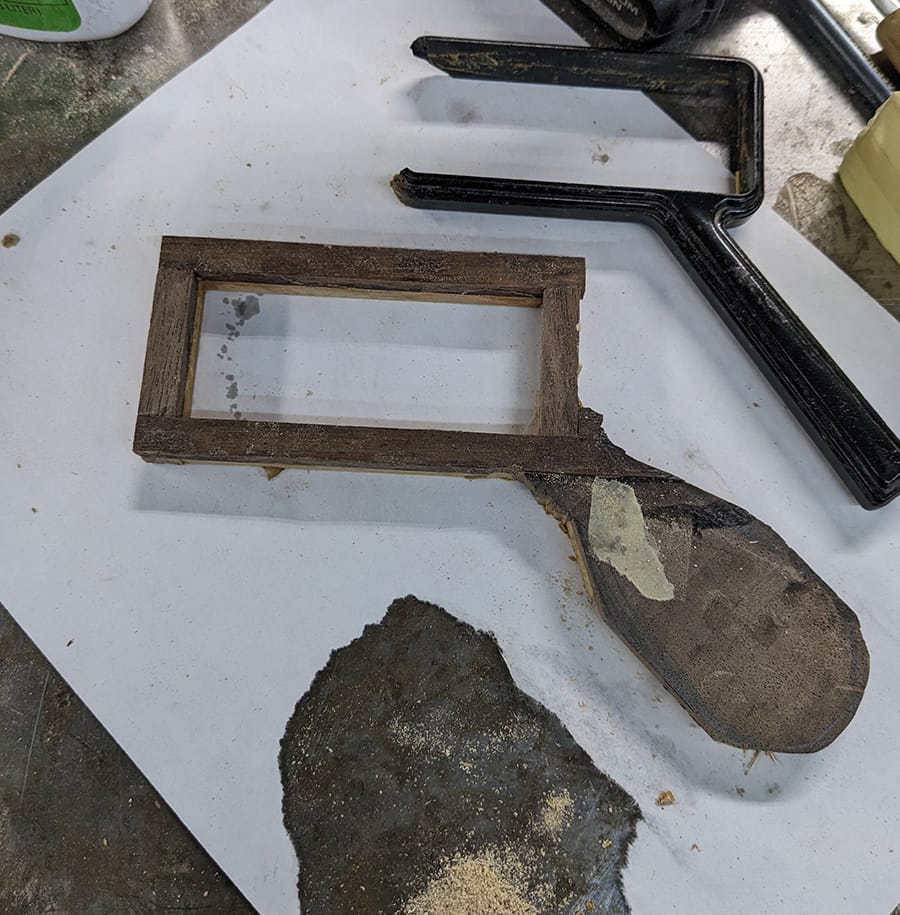
The next step was to take it to the bandsaw and rough cut in the handle shape.
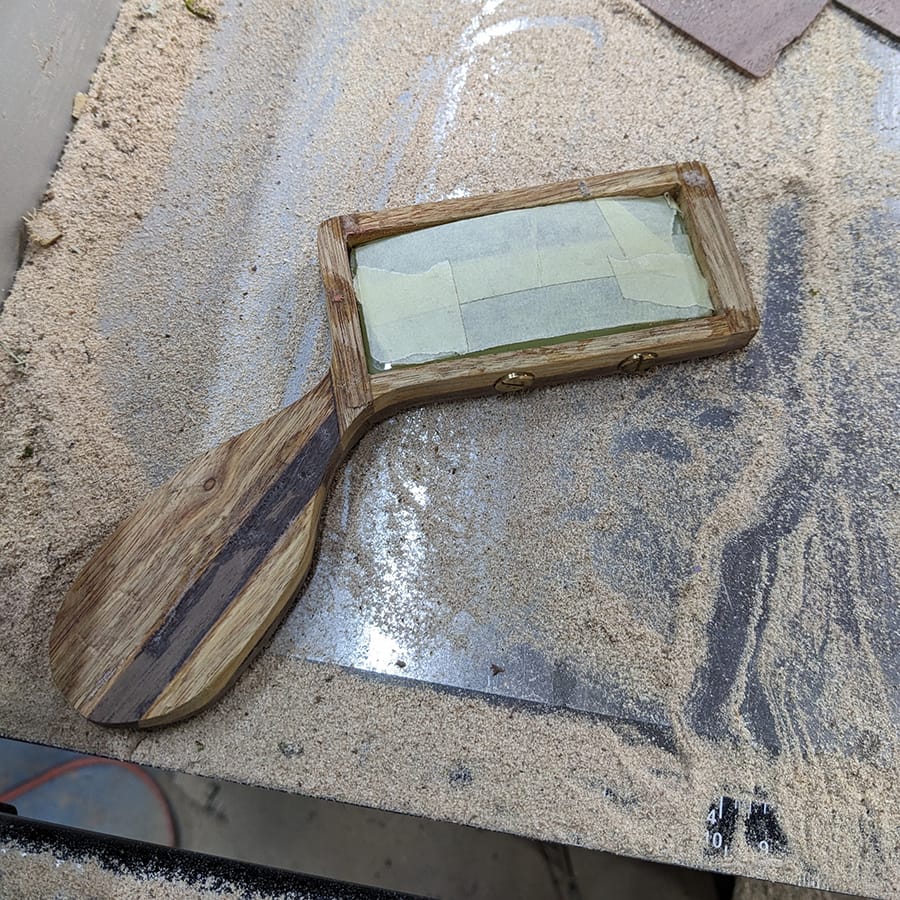
Some steps got skipped in the course of "figuring shit out" here for photos but between the rough cut and the above picture was some initial shaping and sanding on the belt sander and finding a large flat piece of 1/8th walnut that I glued onto the walnut side and then pressed and reshaped to add a little thickness back and to add some additional support on the walnut side. This brought the thickness to the right point where I could countersink the brass bookbinders screws I planned to use to tension the lens in place. Sometimes also called "Chicago screws" this type of hardware is 2 pieces a large "male" flathead bolt with a short threaded post and a female bolt with a threaded receiving post. I only needed the "male" flathead part and the threaded post so I cut the receiving post into pieces I could then glue into holes drilled into the frame. This allows the screws to be turned through the threaded post and provide tension on the lens.
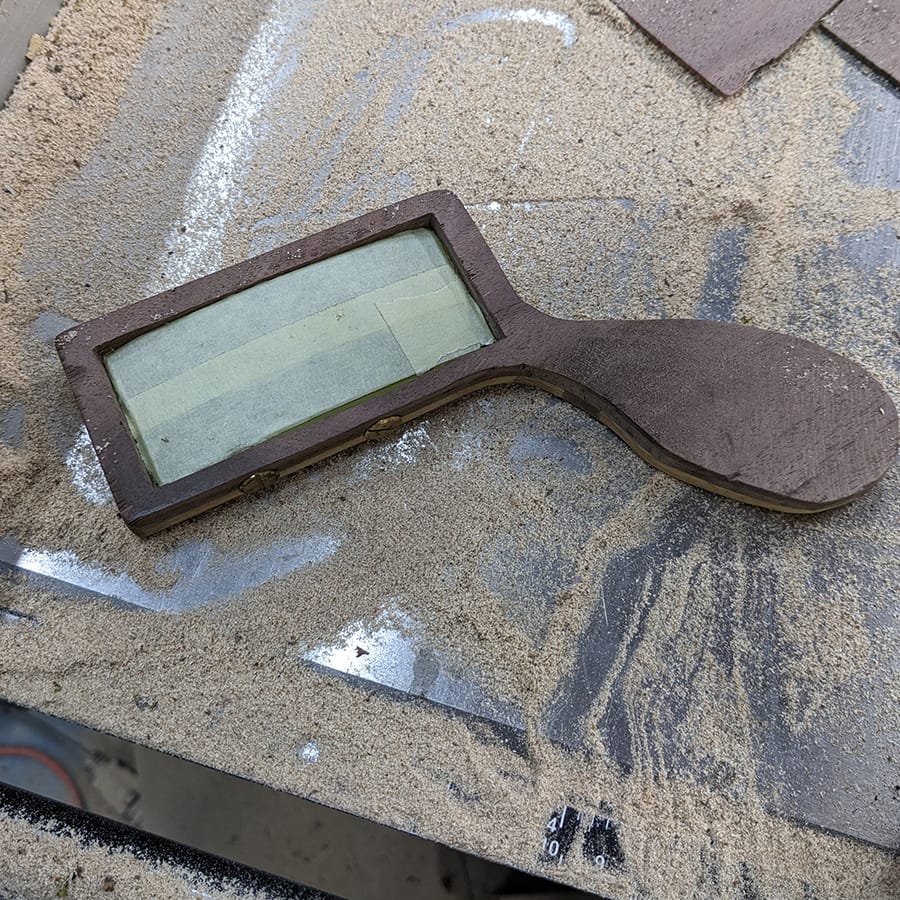
You can see on this side how the 1/8 flat piece of wood is essentially a veneer that hides the joinery lines on the walnut side. It was for support but it ends up being a nice effect.
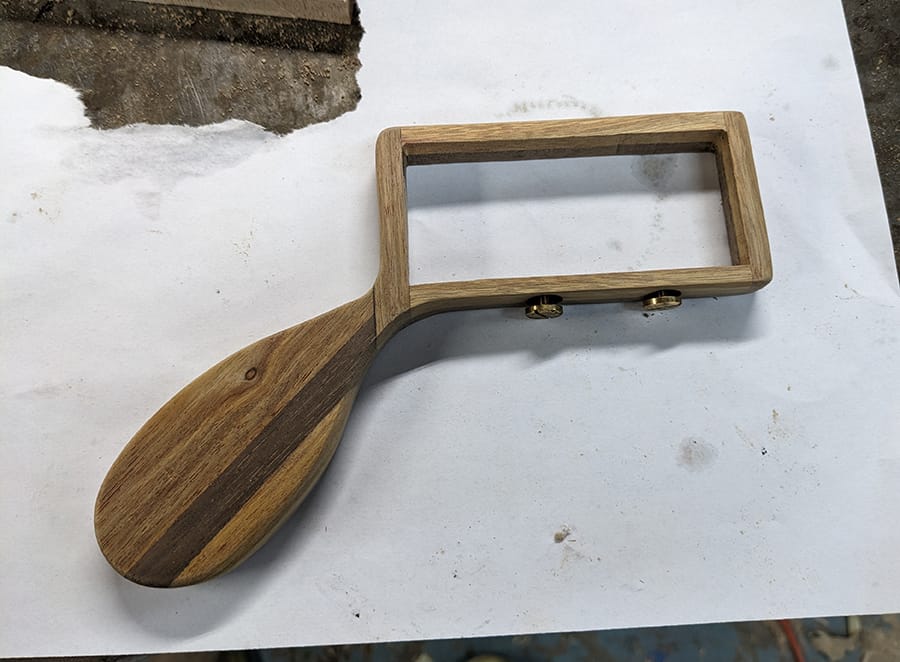
Sometime and a lot of sanding later the frame is ready for finishing. I went with a simple mineral oil finish which is common for tool handles.
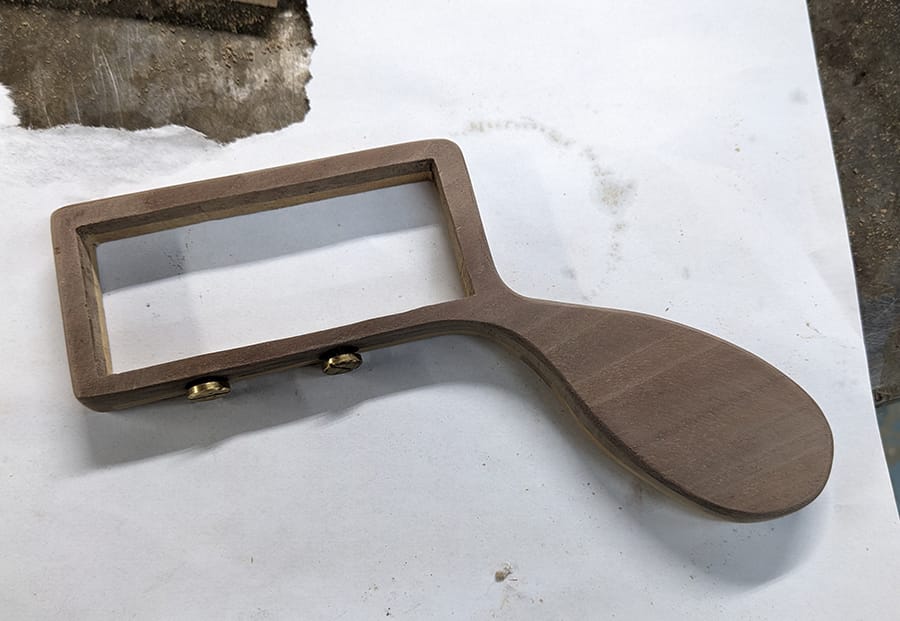
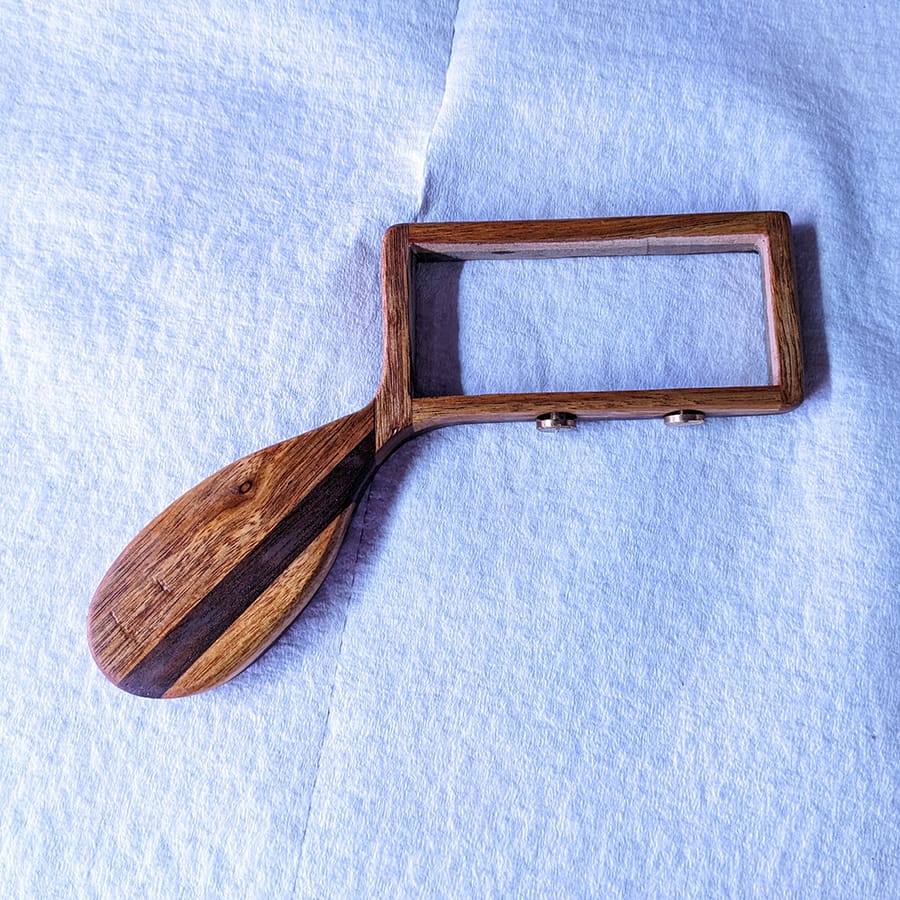
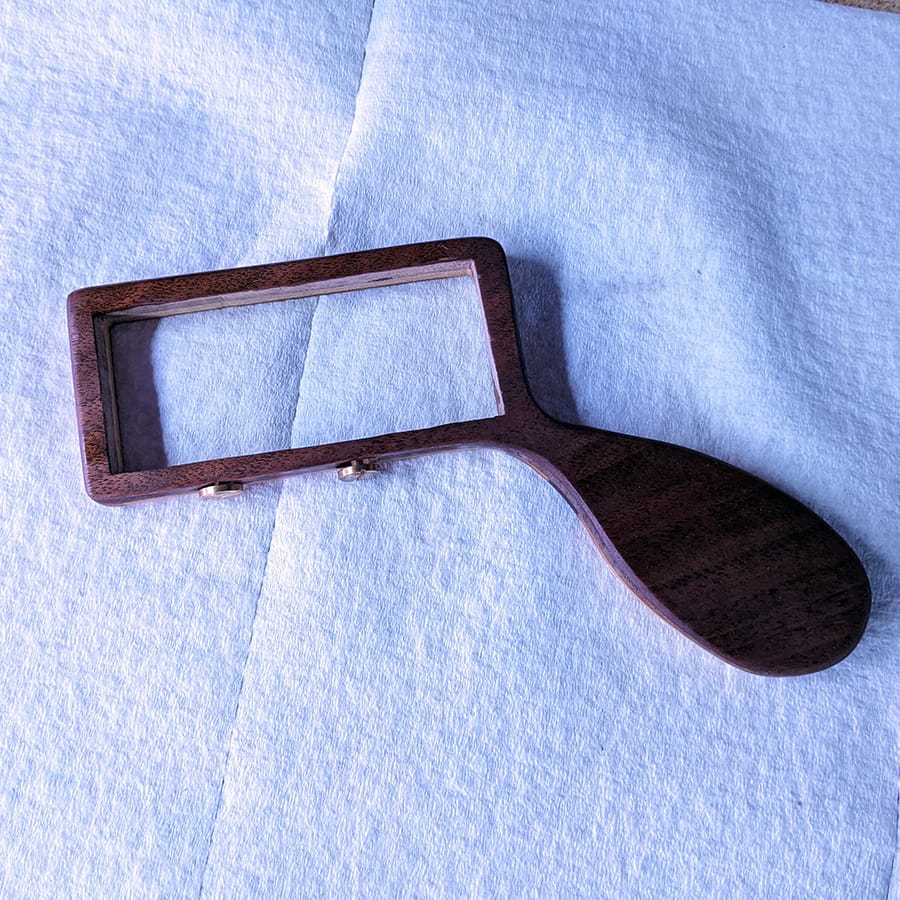
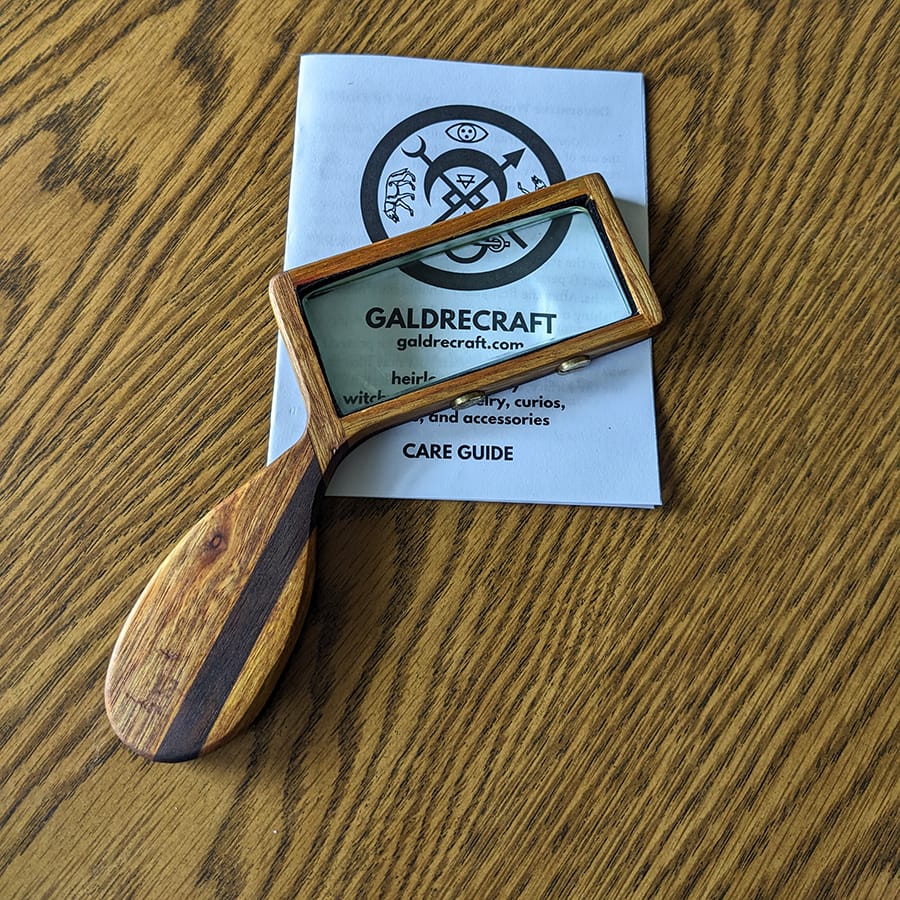
Once the finish was (technically mineral oil is a treatment) set and I had given it a few buffs with some beeswax polish I decided to add some felt strips to help cushion the lens and also reduce the amount of tension coming just from the screws. I think the end effect is quite nice.
I have yet to give it to my neighbor. We normally just kind of pass by each other gardening on our sides of the fence and its been raining a lot which keeps him inside so I don't know how well it will be received yet. We'll see!